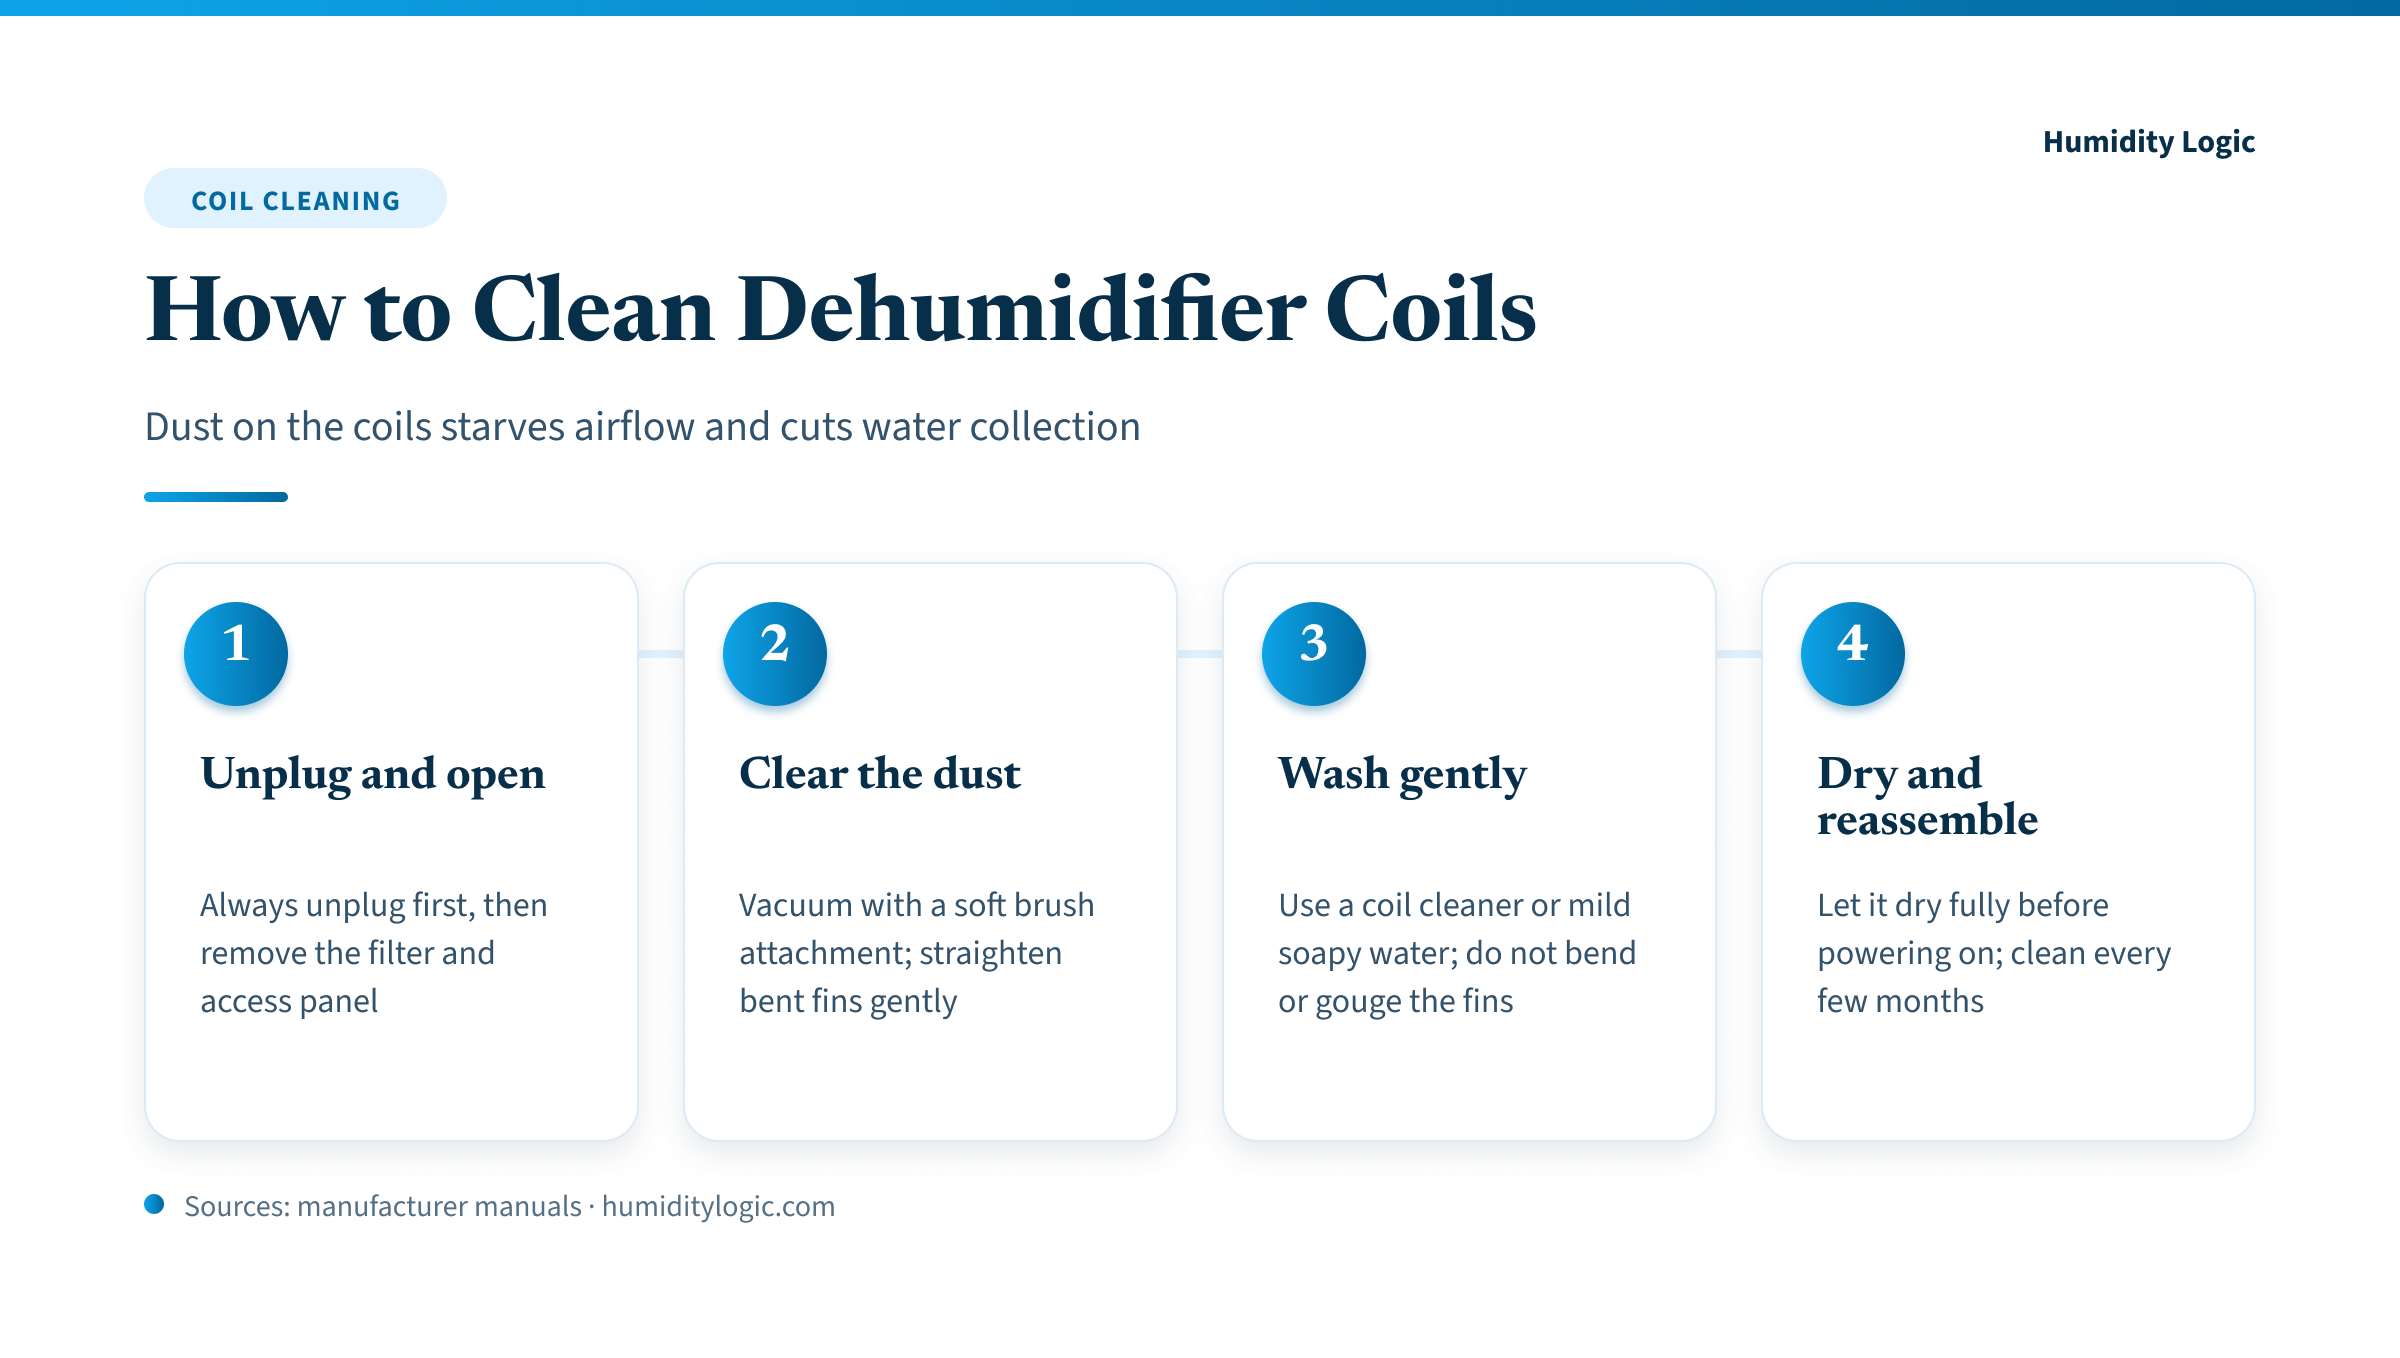
To clean dehumidifier coils, unplug the unit first, then remove the filter and access panel, vacuum the dust off the cold coils with a soft brush, straighten any bent fins gently, and wipe them with a no-rinse coil cleaner or mild soapy water before drying and reassembling. This matters because dusty coils cut water collection and can make the coil so cold that it ices over. Keep water off the motor and electrical parts, and never open the sealed refrigerant system.
The cold coil is where the whole machine does its job, so it is also where neglect shows up first. Warm, damp room air is pulled across a refrigerated coil, water condenses on the metal fins and drips into the bucket, and the dried air blows back out. Coat that coil in a fuzzy layer of dust and mold, and it can no longer chill the passing air or shed water efficiently. The result is a dehumidifier that runs longer, collects less, uses more electricity, and sometimes freezes solid. Cleaning it is straightforward, and none of it involves the sealed parts.
Why do dehumidifier coils get dirty and moldy?
Coils get dirty because every cubic foot of humid air the machine processes carries dust, and the coil is permanently wet. The filter catches most of the debris, but fine particles slip through and stick to the damp fins, where they build into a grimy, insulating film. Because the coil surface is cold and constantly bathed in condensation, it is also an ideal spot for mold and mildew to take hold — the EPA is blunt that controlling moisture is the key to controlling mold, and a dehumidifier coil is one of the dampest surfaces in the house.
Two things follow from a dirty coil. First, water collection drops, because a dust-caked coil cannot condense moisture the way bare metal can, which is a leading reason a dehumidifier stops collecting water. Second, that insulating grime and the restricted airflow behind it let parts of the coil get colder than intended, so frost forms and grows into ice — the same starved-airflow problem covered in our guide to a dehumidifier freezing up. Understanding how a dehumidifier works makes clear why a clean coil is non-negotiable. Mold on the coil and in the wet bucket is also the usual culprit when a dehumidifier smells bad.
How do you clean dehumidifier coils step by step?
The whole job takes about half an hour, most of which is drying time. Work gently — the aluminum fins bend under almost no pressure, and a bent or gouged fin blocks airflow just as badly as dust does.
- Unplug the unit and empty the bucket. Both GE Appliances and hOmeLabs tell owners to turn the dehumidifier off and remove the plug from the wall before any cleaning. Do this first, every time — the coil sits right beside the fan and electrical parts.
- Remove the filter and the access panel. The washable filter usually slides out of the back or side; behind it, the front grille or rear panel unclips or unscrews to expose the coil. Note how the pieces come apart so reassembly is easy.
- Vacuum the dust. Use a vacuum with a soft brush attachment, or a soft-bristled brush, and lift dust off the fins working in the direction they run. This alone restores most lost airflow. Take the chance to clean the intake grille too, since a clogged grille chokes the coil from the outside.
- Straighten bent fins. If you spot mashed or leaning fins, coax them straight with light pressure. A fin comb sized to the fin spacing does this cleanly, but gentle work with a thin plastic tool is fine. Do not force it.
- Wash away film and mold. For a greasy or moldy coating that vacuuming leaves behind, apply a no-rinse coil cleaner made for HVAC coils, or wipe with mild dish soap and warm water. Keep the liquid on the fins and off the fan motor, control board, and wiring. hOmeLabs specifically warns against harsh solvents such as gasoline or ethyl acetate — plain soapy water or a purpose-made coil cleaner is all you need.
- Dry fully and reassemble. Let the coil and interior air-dry completely — a couple of hours — before putting the panel and filter back and plugging in. Reinstalling anything damp just invites the mildew back.
What should you never do when cleaning the coils?
Never open, cut, or unscrew the sealed refrigerant system — the compressor and the closed loop of tubing the coil is part of. That system is charged with refrigerant under pressure and is not a DIY component; if a coil develops a leak or the sealed system fails, it needs a qualified technician, not a homeowner with a screwdriver. Cleaning the outside of the coil fins is routine owner maintenance; breaching the tubing is not.
A few other cautions keep the job safe and the unit intact. Do not run the dehumidifier with the panel off or while anything is still wet. Do not aim a pressure washer or a running hose at the coil — heavy water gets into the motor and electronics. Skip metal scrapers and stiff brushes that gouge the soft aluminum, and skip bleach or abrasive cleaners on the coil itself, which GE Appliances advises against for the grilles as well. And always confirm the unit is unplugged before your hands go anywhere near the coil.
How often should you clean dehumidifier coils?
Vacuum the coils and grilles every few months, and step that up to monthly during peak humidity when the unit runs most days. A good rhythm is a quick check when you first set the machine up for the season and another when you put it away, with a light vacuum in between whenever the fins start to look gray. The filter, which protects the coil, needs attention more often — roughly every two weeks of heavy use, or at the interval your manual specifies — and staying on top of it is the single best way to keep the coil clean longer. ENERGY STAR frames the same idea from the placement side, advising owners to keep the unit away from dust and dirt that can clog coils and grilles in the first place.
Coil cleaning is one piece of a short routine; our full dehumidifier maintenance schedule folds it in with filter, bucket, and drain-hose care so nothing gets forgotten. Keeping the coil clear also means the machine actually delivers its rated capacity — and if yours never seems to keep up no matter how clean it is, it may simply be undersized for the space. Our dehumidifier size calculator matches pint capacity to your room’s square footage and dampness so you are not asking a small unit to do a big room’s work.
When is a struggling dehumidifier a coil problem versus something else?
Clean coils first, because it is the cheapest fix and rules out the most common cause. If the unit runs constantly but the bucket fills slowly, or if you find frost on the coil, dust and a clogged filter are the prime suspects and a good cleaning often solves it outright. Poor airflow from a coil that cannot breathe is exactly what starves water collection and triggers icing, so clearing it is the logical starting point before you suspect a deeper fault.
If a spotless coil and a fresh filter do not help, look past the coil. A room colder than about 65 degrees will naturally cut a standard dehumidifier’s output and encourage icing regardless of how clean the coil is. Persistent icing on a clean coil in a warm room, or a unit that no longer cools its coil at all, points toward the sealed refrigerant system or a failing fan — the sort of problem that belongs with a technician rather than a cleaning cloth. Cleaning the coil, in other words, is both the first maintenance step and a useful diagnostic: once the fins are clean and airflow is restored, whatever remains is a truer picture of the machine’s real condition.
Frequently asked questions
How do I clean dehumidifier coils?
Unplug the unit first, then remove the filter and the front grille or access panel to expose the cold coil. Vacuum the fins with a soft brush attachment, straighten any bent fins gently, and wipe or wash with a no-rinse coil cleaner or mild soapy water. Keep water off the fan motor and electrical parts, let everything dry fully, and reassemble.
How often should I clean my dehumidifier coils?
Vacuum the coils and grilles every few months, or monthly during heavy use in a humid season. GE Appliances suggests keeping the visible coil fins and rear grille clear so airflow stays unrestricted. A quick check at the start and end of each season keeps dust from building into an insulating layer.
Can dirty coils make a dehumidifier freeze up?
Yes. Dust on the cold coil blocks airflow and lets the surface get colder than it should, so frost forms and turns to ice. That icing is one of the classic signs of starved airflow, alongside a clogged filter and a room below about 65 degrees. Clean the filter and coils before assuming the unit is broken.
What should I use to clean dehumidifier coils?
A vacuum with a soft brush attachment for the dust, plus a no-rinse coil cleaner or mild dish soap and warm water for any greasy film. Avoid harsh solvents like gasoline or ethyl acetate, which hOmeLabs specifically warns against, and never use a metal tool that can gouge or bend the thin aluminum fins.
Is it safe to clean dehumidifier coils myself?
Cleaning the accessible coil fins, filter, and grilles is routine owner maintenance as long as you unplug the unit first and keep water away from the motor and wiring. What you should not touch is the sealed refrigerant system — the compressor and closed tubing. If a coil leaks or the sealed system fails, that is a job for a qualified technician.
Sources & references
Every figure on this page is checked against these published sources. Last reviewed August 1, 2026.